Setting up WordPress is not as hard as you might think. There are just a bit of technical steps that you need to follow. Although you can install WordPress manually, it is better to download it manually.
WordPress is home to over more than half of the websites. It powers powerful companies for their websites and is an excellent option for anyone looking to build their business.
There are two ways through which you can get WordPress for your PC. The longer process is more suitable and technical. You can customize the installation and make it suit your workflow. The other process is very simple. However, it does not give you the power to customize your needs. The one-click installation helps to rapidly install the platform, but you will need to make changes later on to suit your requirements.
This article focuses on how to download and install this powerful website-creating platform that will help you draft websites and increase your organic reach through a stunning user experience and interface.
How to Download WordPress
Download the platform on your device through the official website. It will allow you to install it. The installation process is very simple. You only need to navigate to the website and launch your installation through the given call-to-action buttons.
First, make sure you are downloading the right version. See what your operating system is, and then proceed with the installation. The file downloads as a zip file on your PC. Unzip this file and store it at a suitable place on your PC.
However, before you begin downloading the official platform, there are some prerequisites that you need to follow. These include a suitable file transfer protocol. You should also have a domain and hosting service before you begin the installation.
Apart from this, you require a suitable text editor to align all these things and make your website look stunning.
Follow the detailed and comprehensive steps below to download the WordPress platform:
• Download the zip file and save it on your PC.
• Unload the packages within
• Make sure everything is correct and you meet all the requirements
Create a Database
Databases power the world of the internet and help you store all your user data and turn it into information. You would need to create a database for your WordPress website along with a user.
However, this difference may arise if you have a different host. Hence, it is best to investigate further on this problem and see what the documentation of your host is like.
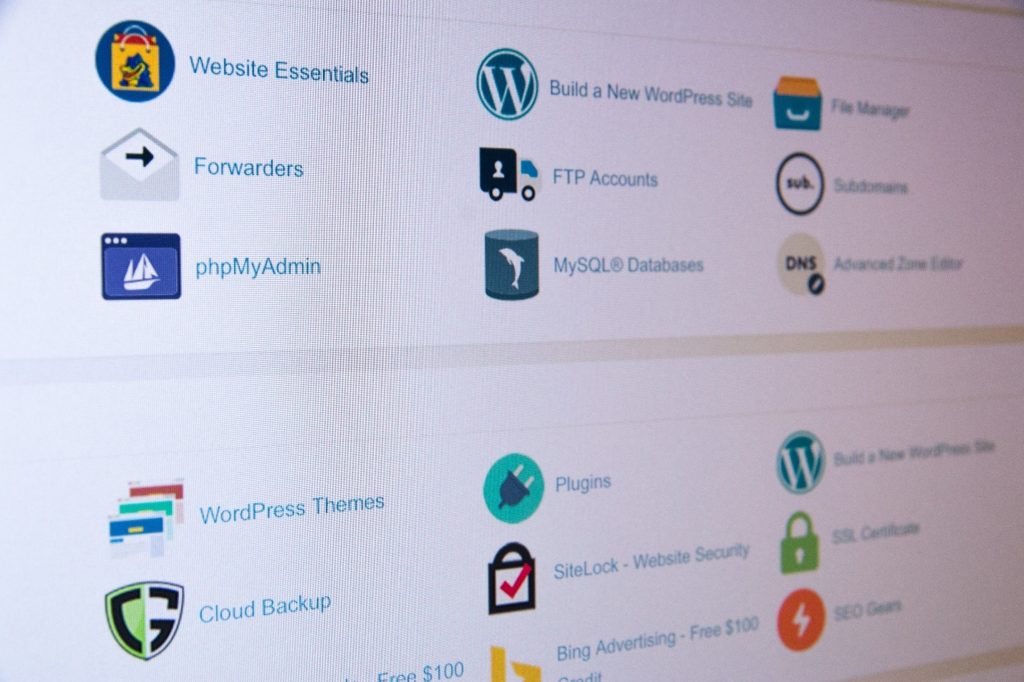
I there is no need of creating a database through manual means, you would need to know what panel is run by your web hosting.
A few steps can help you create a database. You can use the data to alter any core files on your WordPress website.
Accessing Core Files in WordPress
The next step is to download and access a core file for WordPress. It is known as wp-config.php. This file helps to connect your database to the website. It is best to set up this file at an early stage s installing it at a later stage can sometimes be difficult to customize.
The first step is to open the WordPress files on your PC. Click right to rename the file names as wp-config-sample.php. Change it to wp-config.php.
Afterwards, you have to access the file in the text editor you downloaded earlier and look for the MySQL line. MySQL is a platform where you can build and load your databases. It works along with PHP, which is a server used to display the information and interpret it on the web.
The line should read:
You have to change the lines that include the definition of your database’s name, user, password, and host. These lines read as follows:
1. DB_NAME
2. DB_USER
3. DB-PASSWORD
4. DB-HOST
The next step is to secure your WordPress installation through secret keys that you can generate. When you follow all these steps, the next thing to do is to save all these changes and upload your files.
FTP and Uploading Files
The files are ready to transfer to the server at this stage. You require access to FTP and your credential for it. You can find the credentials on your hosting panel.
Navigate to FileZilla, a platform for FTP, and log into your server. Here you will need to open your root directory and access the panel named public_html or www.
The next step is to upload the files to your toot directory or subdirectory. If you are uploading files to the root directory, you will need to rename the wordpress folder and upload the files to the server. The name should be unique.
If, on the other hand, you are uploading the files to the subdirectory, you will also have to rename the wordpress folder and create a unique name for it before uploading any files.
Till this stage, everything is done, apart from actually installing the WordPress platform.
Leave a Reply